10 presets
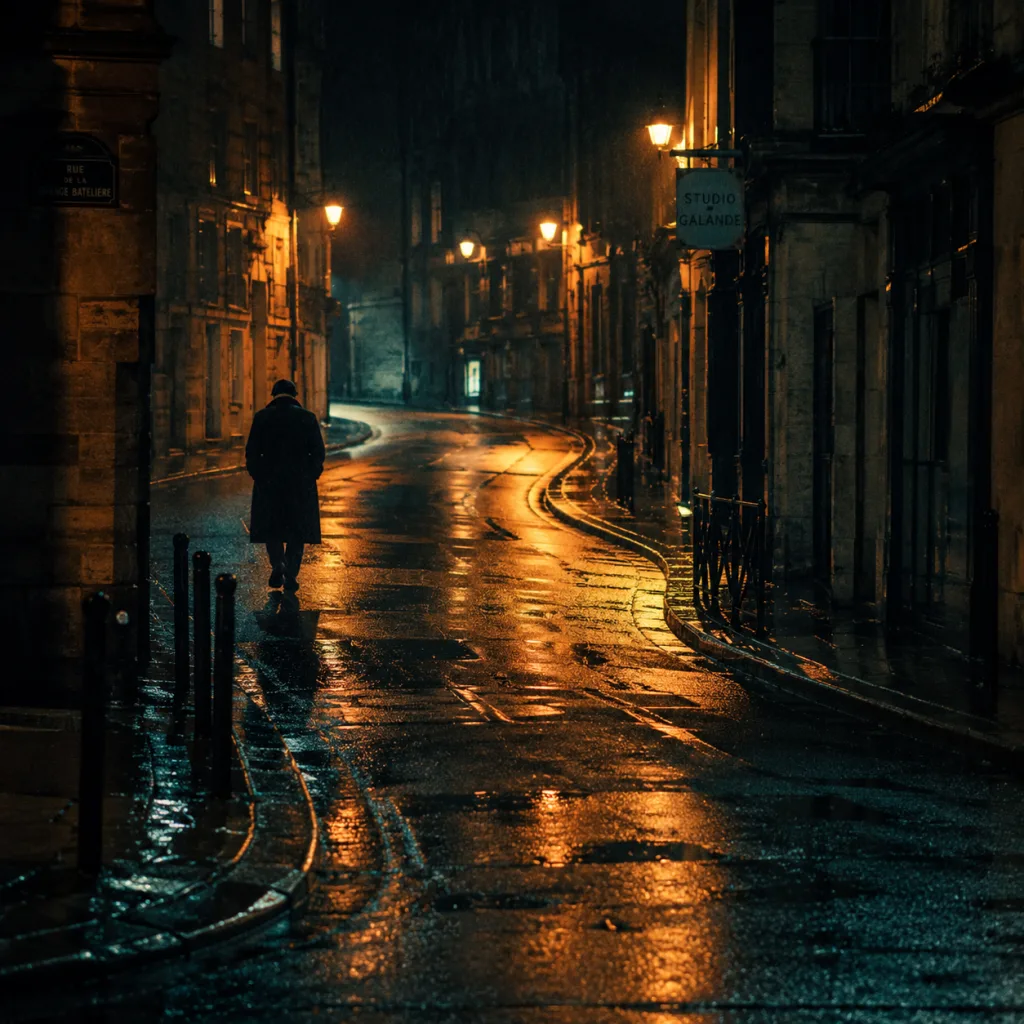
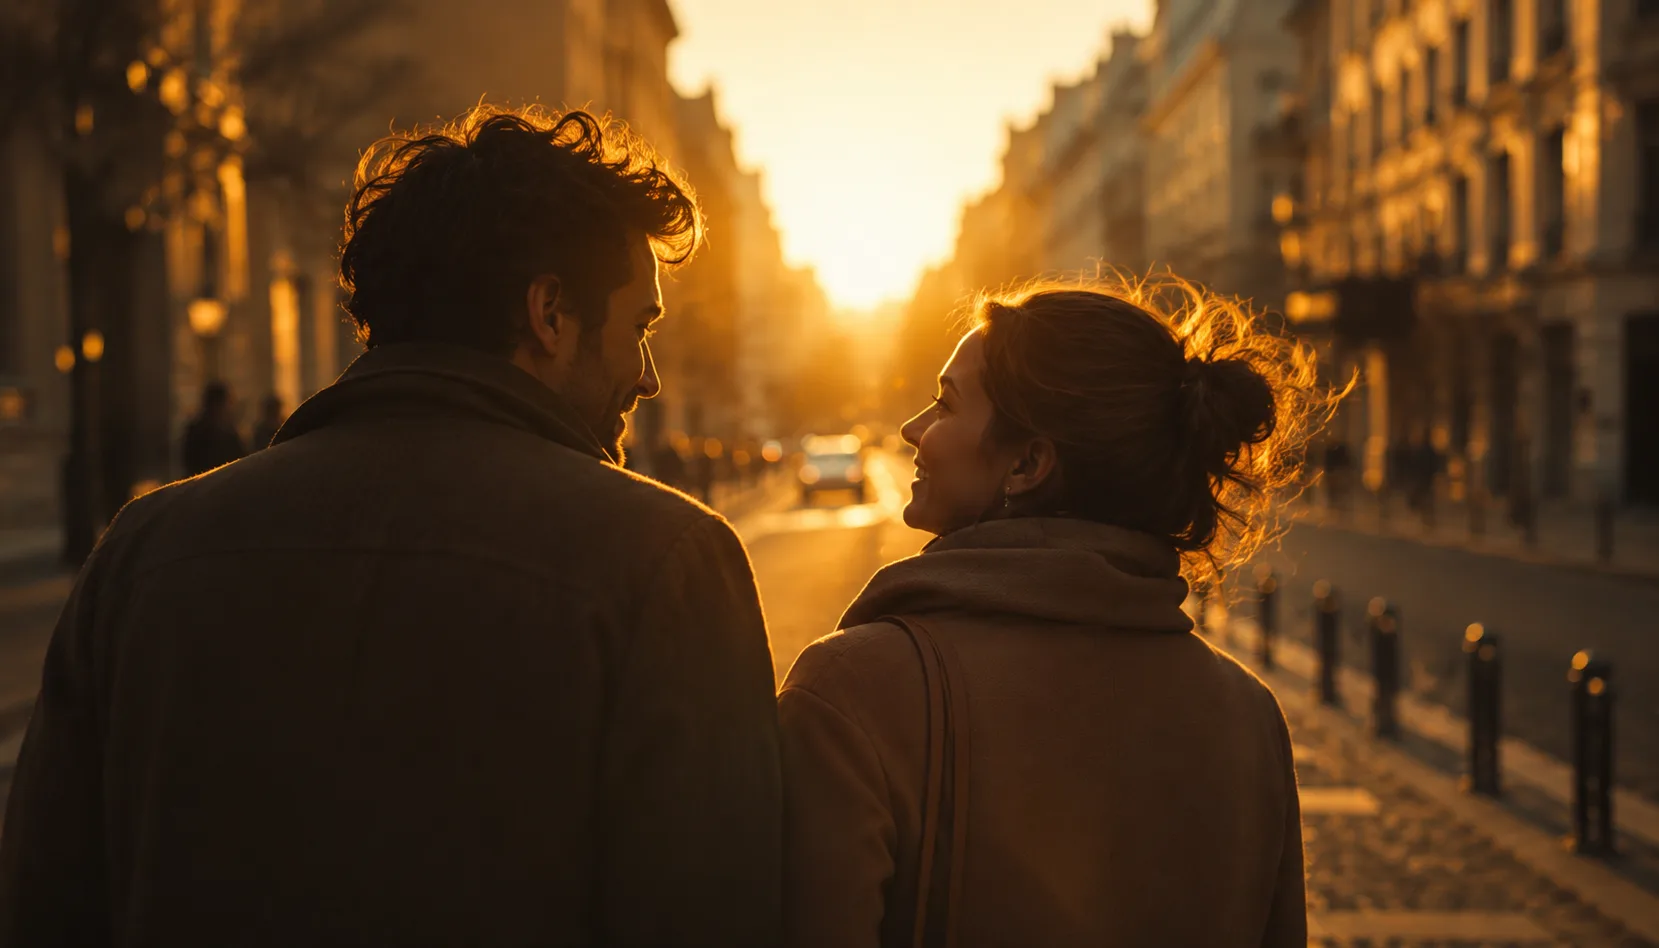
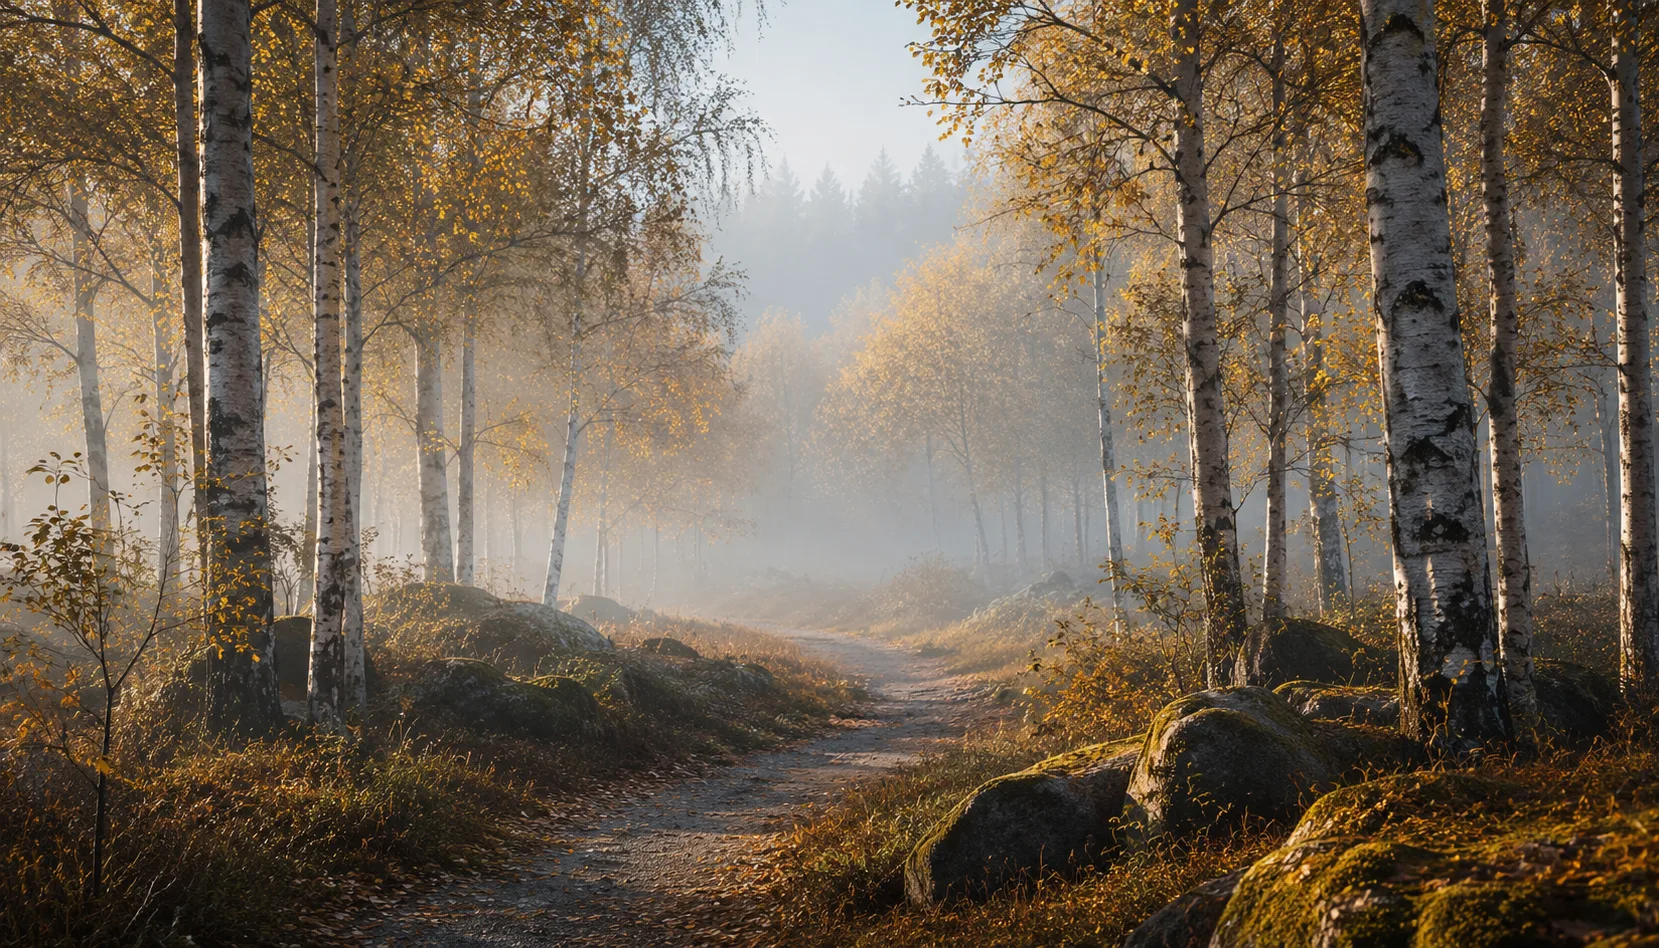
Ten presets inspired by painting. From deep chiaroscuro to light watercolour, each with its own painterly mood. For images that look more like a painting than a photo.
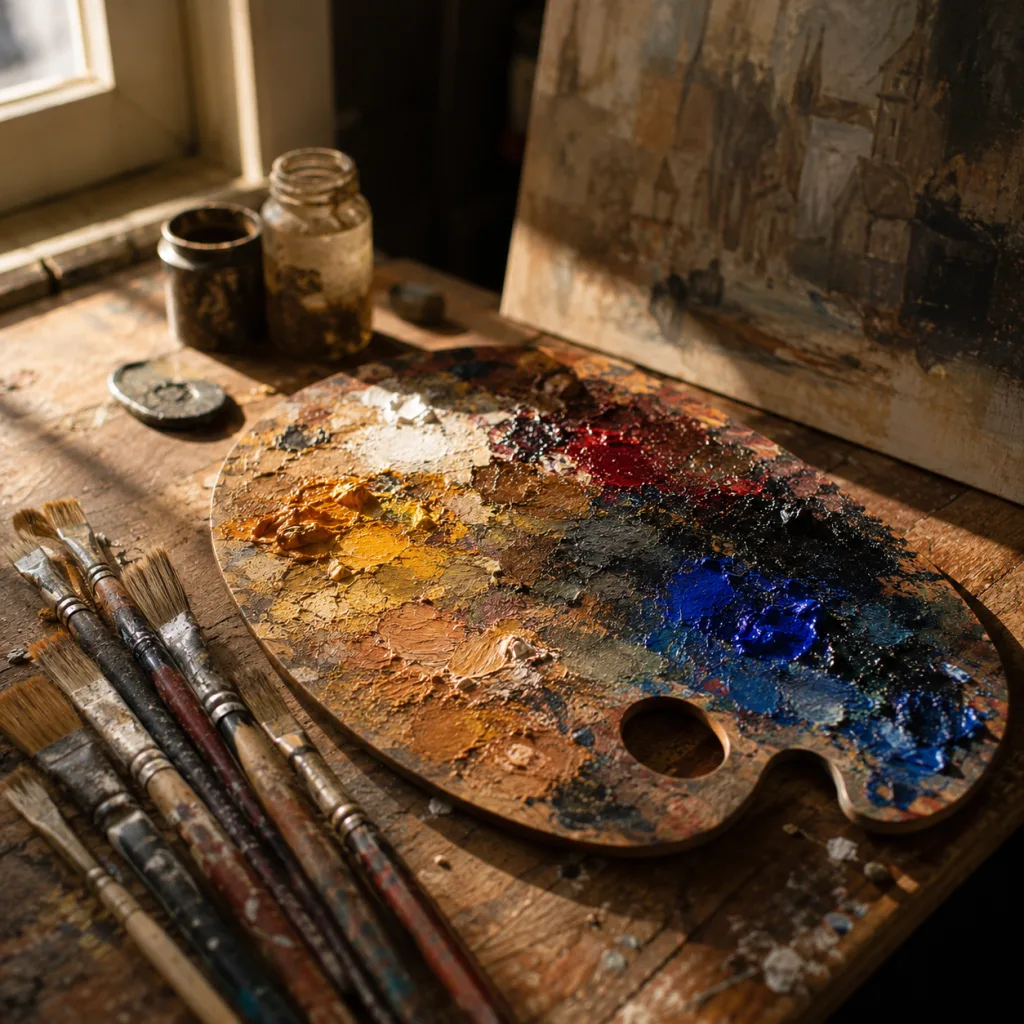
Palette
All looks on one photo
The same photo, every preset. Switch the test image to see how the looks hold up.


About Palette
Palette translates ten painting techniques into photography. Not as a filter laid over the image, but as a way of looking at light and colour that painters have used for centuries. From the sharp contrast of chiaroscuro to the transparency of watercolour, each preset picks a different painterly tone.
This pack is made for photographers who want their images to feel like more than a direct recording. Whether you're shooting portraits with dramatic light, landscapes that call for mood over sharpness, or still life that asks for calm: Palette gives each of those directions its own considered treatment.
The presets work best when the composition already leans that way. Chiaroscuro and Baroque want a clear light source and a dark background, Window Light and Watercolour want a bright, open scene instead. Sunflower and Golden Sheen amplify warmth that's already there, Impression and Pastel Canvas work on images that already lean soft. Charcoal Black and White draws sharp lines, Midday Hopper asks for hard, high daylight.
Ten separate presets are ten starting points, but together they form an overview of what painting can do with light and colour. You browse through them and see at a glance which painterly tone suits your photo.
You install the pack in Lightroom Classic or Lightroom through the usual preset import step. After that they sit ready in your preset panel. Open a photo, click a preset, and adjust light or exposure where needed. Working through a series? Sync the chosen preset across the whole selection.
What's included in the download?
Presets for Lightroom Classic and Lightroom Desktop. Import via the Presets panel in the Develop module. Works on RAW and JPEG.
Capture One styles. Import via the Styles panel. Compatible with Capture One Pro and Capture One Express for Sony, Fujifilm and Nikon.
3D LUT for use in DaVinci Resolve, Adobe Premiere Pro, Final Cut Pro and other video software. Also works in Photoshop via Camera Raw or as a Color Lookup adjustment layer.
Installation instructions for Lightroom, Capture One and video software. Step by step.
Installation
Lightroom Classic (.xmp)
Open Lightroom Classic and go to the Develop module. In the Presets panel, click the plus icon and choose "Import Presets". Select the .xmp files from the unzipped folder. After import the presets appear in your chosen folder and are immediately available for all photos in your library.
Lightroom (mobile and desktop app)
Open a photo in Lightroom. Tap "Presets" at the bottom, then tap the three-dot menu in the top right. Choose "Import Presets" and select the .xmp files. On mobile, access this via the three dots at the top of the edit screen. Presets sync automatically to all your devices via Adobe Creative Cloud.
Capture One (.costyle)
Open Capture One and go to the Styles panel in the Color tool. Click the arrow menu next to "Styles" and choose "Import Styles". Select the .costyle files. The styles are then immediately available in the Styles panel and can be applied to any selected photo or multiple photos at once.
DaVinci Resolve / Premiere Pro (.cube)
Copy the .cube files to a fixed folder on your drive. In DaVinci Resolve add a Color LUT node and import the .cube file by right-clicking the node. In Premiere Pro use the "Lumetri Color" effect and under "Creative" choose the "Look" option to load the .cube file. The LUT also works in Final Cut Pro via an FCPX Plugin or in Photoshop as an adjustment layer.